Ever since I received my first model of this locomotive, and witnessed it's superb running characteristics and details, I wondered if it could be converted to a 2 truck shay. I love the 2 truck shay, the MDC is a wonderful model, but requires many, many long hours of work and considerable expense, even more if you want to use it with DCC. Still, the Bachmann Spectrum 3 Truck Shay just screams for this to be done, as well as a readily available supply of spare parts from Bachmann if things go terribly wrong and I end up reverting it back into a 3 Truck. Recently I ran across several examples of modelers doing this conversion, and everything seemed to go quite easily. I will not be converting a sound equipped loco, but I will try to re use the OEM circuit board that has the receptacles for the plugs from the main loco ( track pickup, motor and lighting wire connections).
The first that is required is to remove all three trucks, the tender, the engine and the cab.
All of the many screw locations that need to be removed to get to the frame. Cutting the frame with a Dremel tool is required, so the reason for this is to protect these components from handling and metal particles. (The frame is made of aluminum)
This is not the model I am converting but this shows all the components affected. The boiler can stay in place but the oil/coal bunker must be removed.
After many measurements, a short section from the rear of the loco is removed.
The tender is cut as well, the portion on the right with the coupler will be kept.
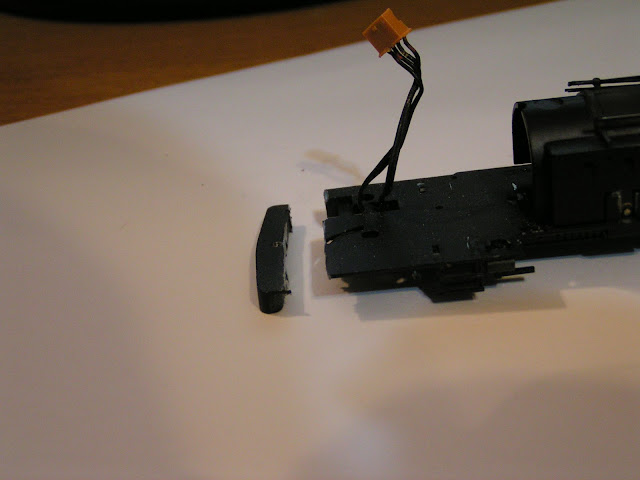
To the left is the main locomotive chassis containing the boiler, to the right is the tender piece, these two pieces will be spliced together. the harness plugs are still intact.
More to come as I progress.
Merry Christmas and Happy New Year.
I let the epoxy cure for several hours before I started assembly. Here is my new 2 truck Lima shay out for some test runs. Next step is to cut down the tender shell to fit on the new chassis.
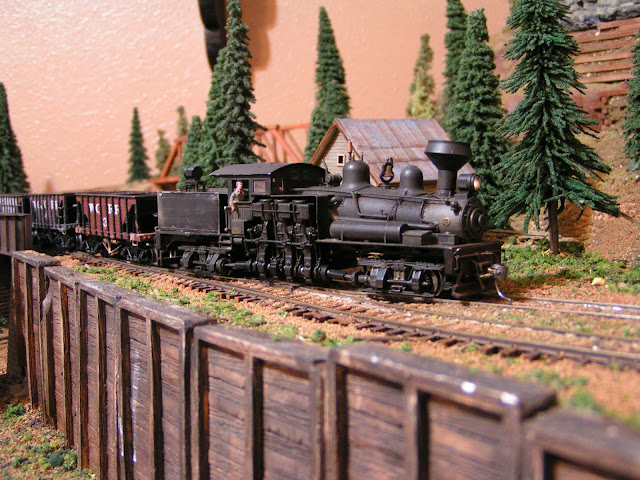
The mostly completed 2 truck shay. I have ordered a straight stack from Bachmann to replace that balloon stack, signifying that this loco is an oil burner and not a wood or coal burner. She runs well, pulls almost as much as the 3 truck shay, but on this railroad, the biggest load is 4 ore cars (MDC wood chip cars). This is strictly adhered too simply because the sidings at the mine can only handle that amount.


sounds like the conversion went well. Any more discussion/photos available?
ReplyDeletewhat problems did you have to overcome?
What special tools did you need?
Have you talked to anyone else doing this conversion?
Hi
ReplyDeleteIt went as easy as shown above, the only "special" tools is a Dremel tool with a cut off disc. You will need to add weight to the loco.
Who makes the Shay Boxcar? Great tutorial! I might have to try it one day!
ReplyDeleteHi,
ReplyDeleteThe Shay boxcar was made by Model
Die Casting (MDC). They show up on EBay often.
You wouldn't happen to have a spare Spectrum truck would you? I want to make a Spectrum 4 truck Shay!....I have the tender parts, I just need a matching truck! I'm planning mine, to be a Western Maryland, #5........E-mail me with concerns or help1 Thanks, yellowstone10@hotmail.com
ReplyDeleteNice conversion. Would you happen to know if anyone has done this with the G scale shay?
ReplyDelete