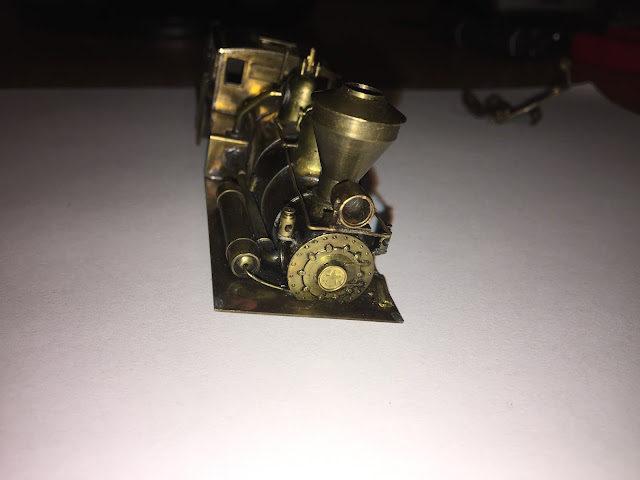
I haven't been doing any updates lately, life happens, and the summer time its hard to do any modeling. About 6 months ago I picked up an unpainted PFM/United brass shay on Ebay. It was disassembled but since I have much experience (now) from bringing my other brass shay (#92 below) on up to todays standards (led's. Tsunami 2, sugar cube speakers and a Canon can motor). This shay is the exact model of the first one, and I'm excited to start working on it. These things weigh a good deal and pull like shay should pull.
Old Worm Drive with shaft.
I have began to drill the lights out so I can install LEDS.
More to come soon.
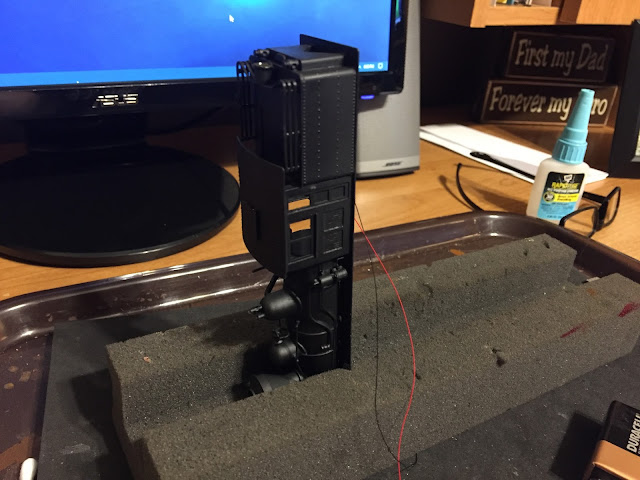
Painted the shell a Modelmasters flat black, I washed it thoroughly prior to applying 4-5 thin coats, letting it dry in the sun between coats.
Here I'm installing the rear LED and a light cover to come soon, obviously I color the inside of the lens so its has more of a yellow look to the light. I simplt thread the LED into the housing an encapsilate it with CA, to hold it in place, and the insulate the LED from shorting on the light housing.
I encapsulated the LED with CA so it wouldn't short against the metal headlight light housing and let sit for an hour.
Colored the headlight lens then used CA to glue it in place.
As a precaution I used liquid electrical "tape" to cover the hole from the tender to the rear light. I also added a short piece of heat shrink, and glued the heat shrink to the inside wall of the brass shell. This keeps the wiring clean, and there's a much less chance of accidentally breaking the fragile wires to the LEDS.
I ordered an Tsunami Economi 1-amp sound decoder from Harris Hobbies out of Athens TX. He has great prices. I also intend to use a TCS KA3 Keep Alive capacitor, and a sugar cube speaker as I normally do. The lights are in the shell, no I need to make some electrical pickups for the trucks, and also add and LED to the the chassis for the firebox flicker. The chassis also needs to be painted.
At this point I have the painted the motor and flywheel, installed the front and reverse LEDS, glued the large Soundtraxx sugar cube and TCS KA3 Keep Alive to the roof of the cab. The Soundtraxx Economi decoder is glued and taped to the side of the NWSL motor.
The next was too add the Accu-Lites lighting board, this board provides nice solder pads and resistors on the board, making the light connections nice and clean.
The top two pictures is a TCS KA3 Keep Alive with the green insulation removed. Removing the thick insulation and replacing with several wraps of thinner electrical tape allowed the Keep Alice to fit in the cab along with the sugar cube speaker. There is also room for an engineer and fireman!
Everything installed except the trucks and the wipers. Time to test!!
Testing the Keep Alive
Taking it for a test run, need to touch up the paint, add decal and weather. Here's a video below.


No comments:
Post a Comment